Why Instrument Shape and Design Matter in Dental Hygiene Care
In dental hygiene, the instruments we hold in our hands every day are far more than pieces of metal and resin. Instrument shape, blade design, shank angulation, handle diameter, and cutting edge configuration all directly influence clinical outcomes, patient comfort, ergonomics, efficiency, and even long-term clinician health. Understanding the “why” behind instrument design allows dental hygienists to make more intentional decisions in patient care rather than simply reaching for instruments out of habit.
Every dental hygiene instrument is engineered for a specific function. Gracey curettes, universal curettes, sickle scalers, and files each have unique design characteristics intended for particular areas of the mouth and types of deposits.
When clinicians fail to understand those design principles, it can lead to:
Burnished calculus
Incomplete deposit removal
Tissue trauma
Reduced clinician efficiency
Increased hand fatigue and musculoskeletal strain
Poor patient outcomes
An instrument is only as effective as the clinician’s understanding of its design.
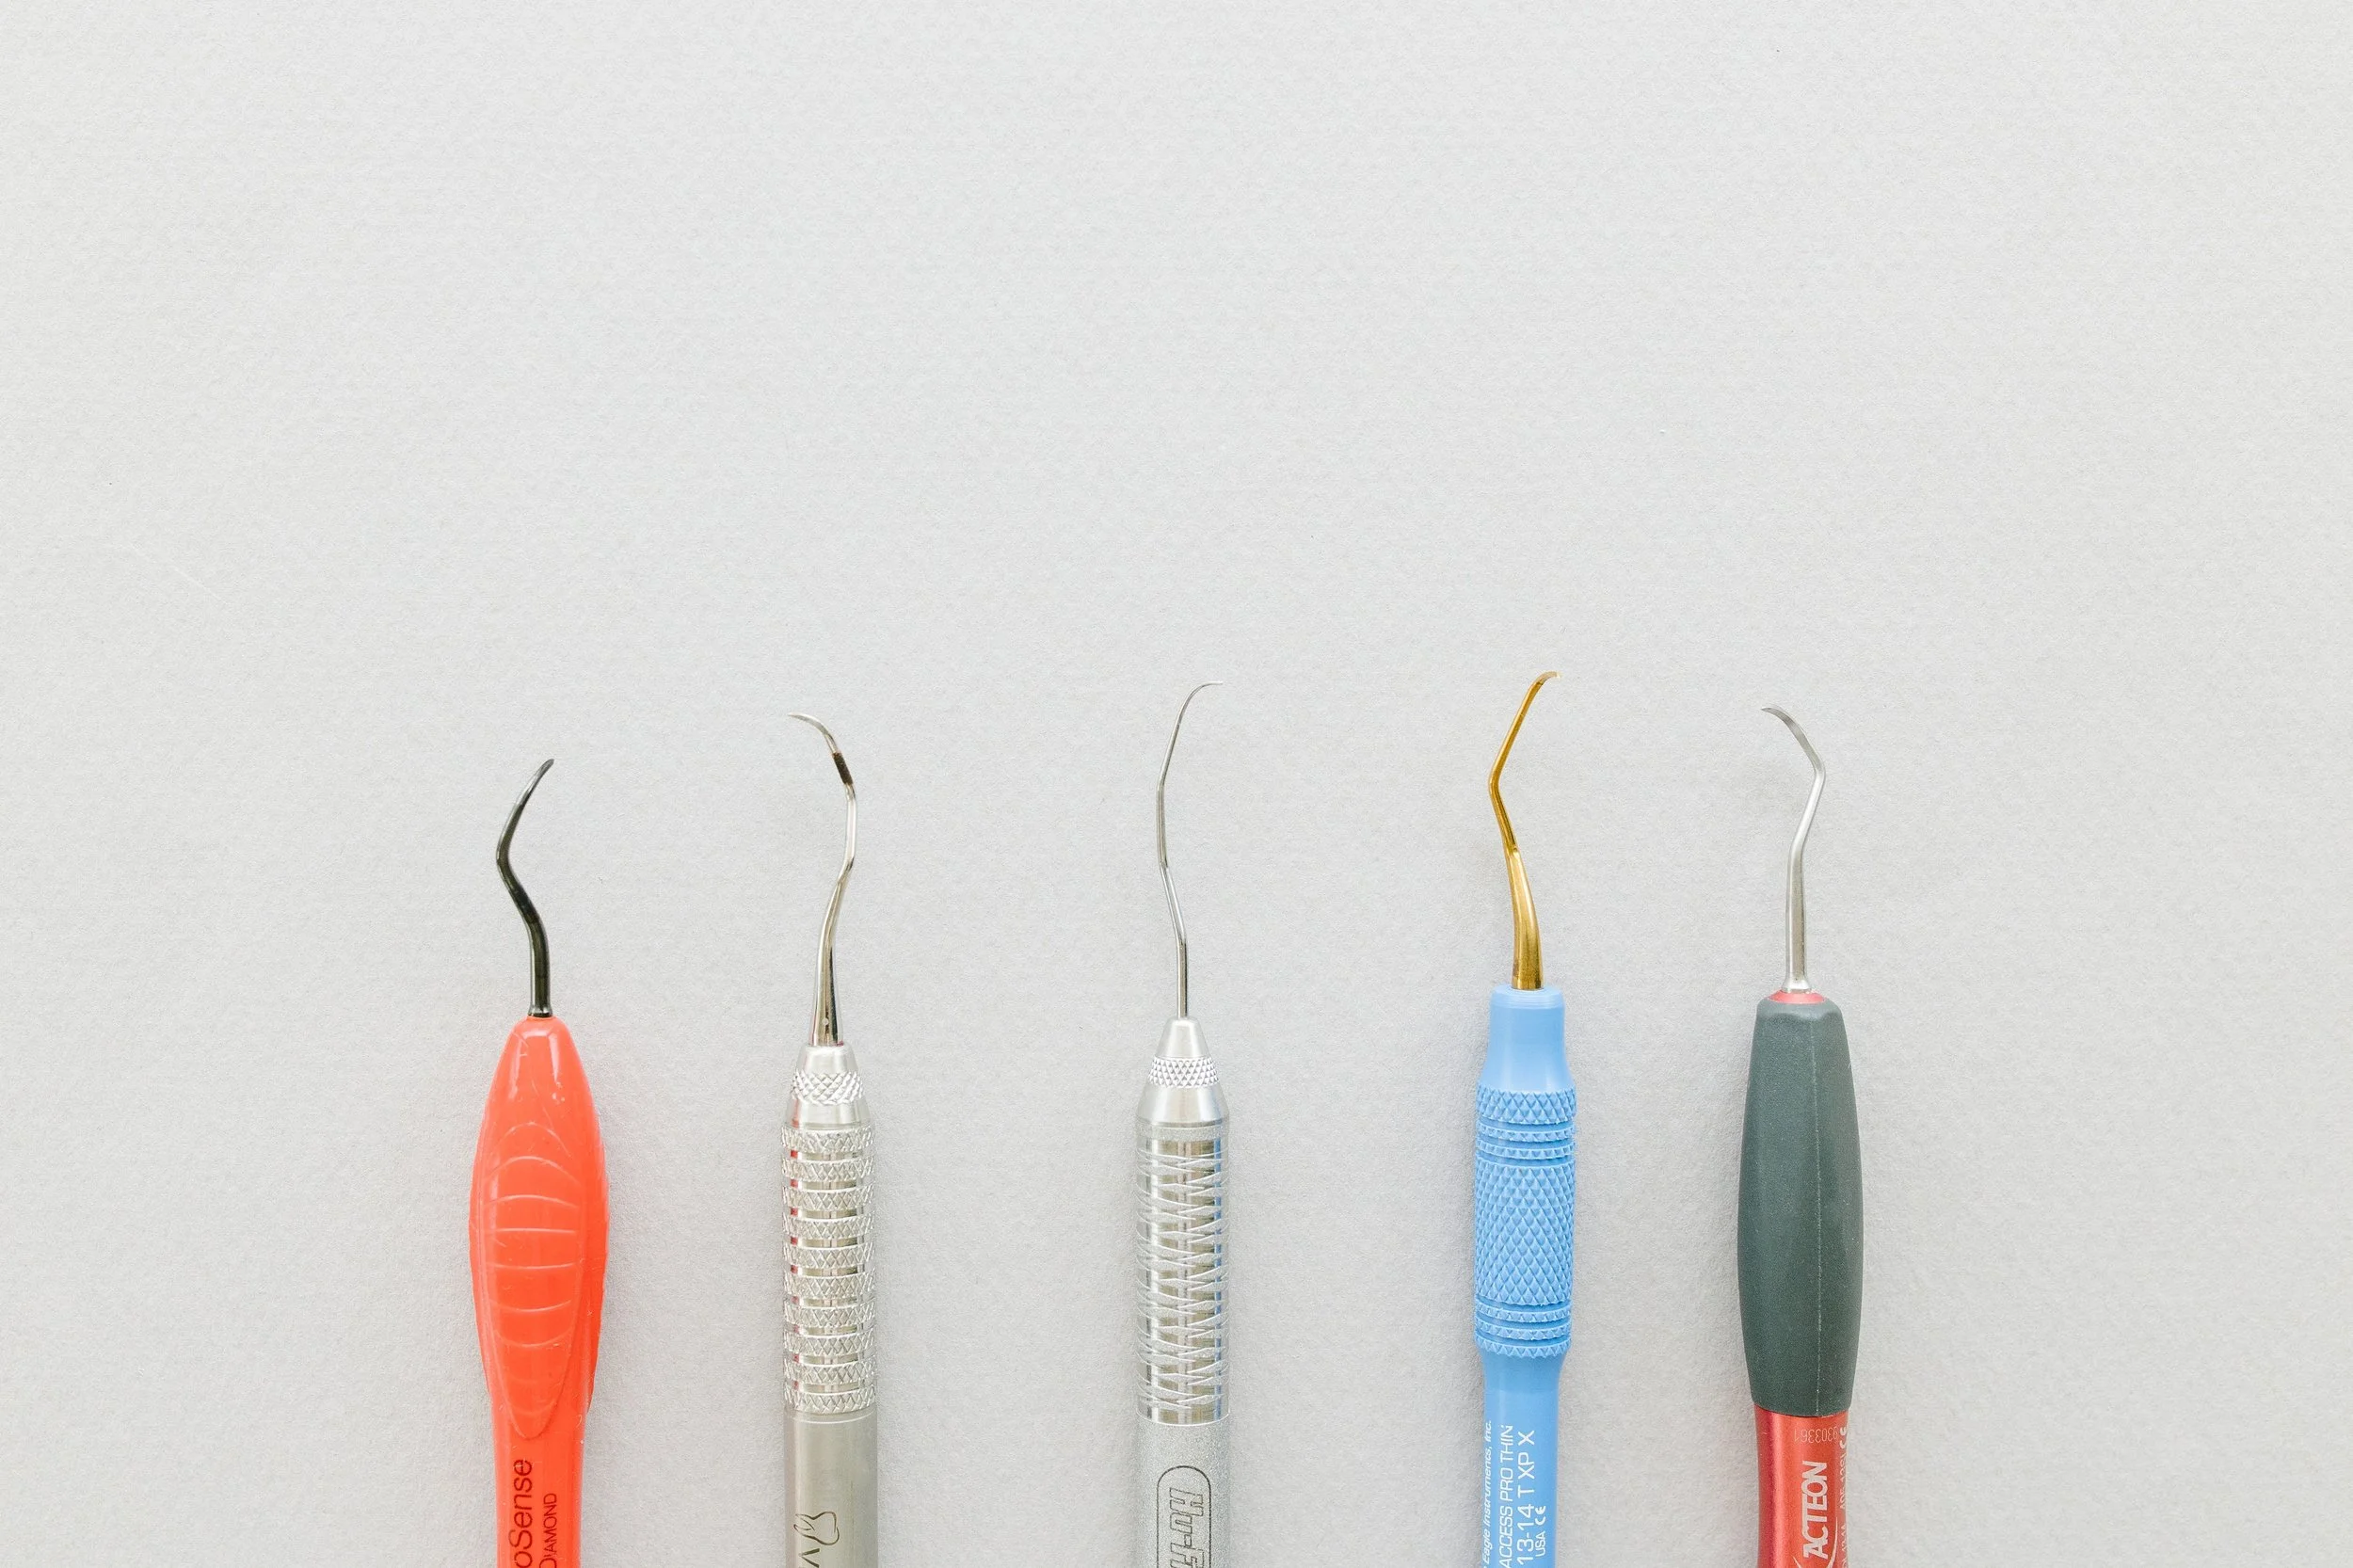
Working End
The working end is where science and clinical performance truly meet.
Sickle scalers feature a pointed tip and triangular cross-section designed specifically for supragingival calculus removal. Their rigid design provides excellent strength for heavy deposits, especially in interproximal areas.
However, because of the pointed tip, they are not intended for subgingival use. Using a sickle scaler below the gingival margin can traumatize soft tissue and create unnecessary discomfort for patients.
Universal curettes are designed with a blade face positioned at a 90-degree angle to the terminal shank, allowing both cutting edges to be used. These instruments provide versatility and are commonly used for subgingival calculus removal.
Their adaptability makes them excellent “workhorse” instruments, but they may lack the area-specific precision of Gracey curettes.
Area-specific (Gracey) curettes are designed with only one lower cutting edge used for instrumentation. The offset blade and carefully engineered shank angulations allow adaptation to specific tooth surfaces with less tissue trauma and more precise subgingival debridement.
For example- the Gracey 11/12 instrument is designed for mesial surfaces of posterior teeth, the Gracey 13/14 instrument is designed for distal surfaces. Using the correct Gracey design improves adaptation, lateral pressure control, and deposit removal efficiency.
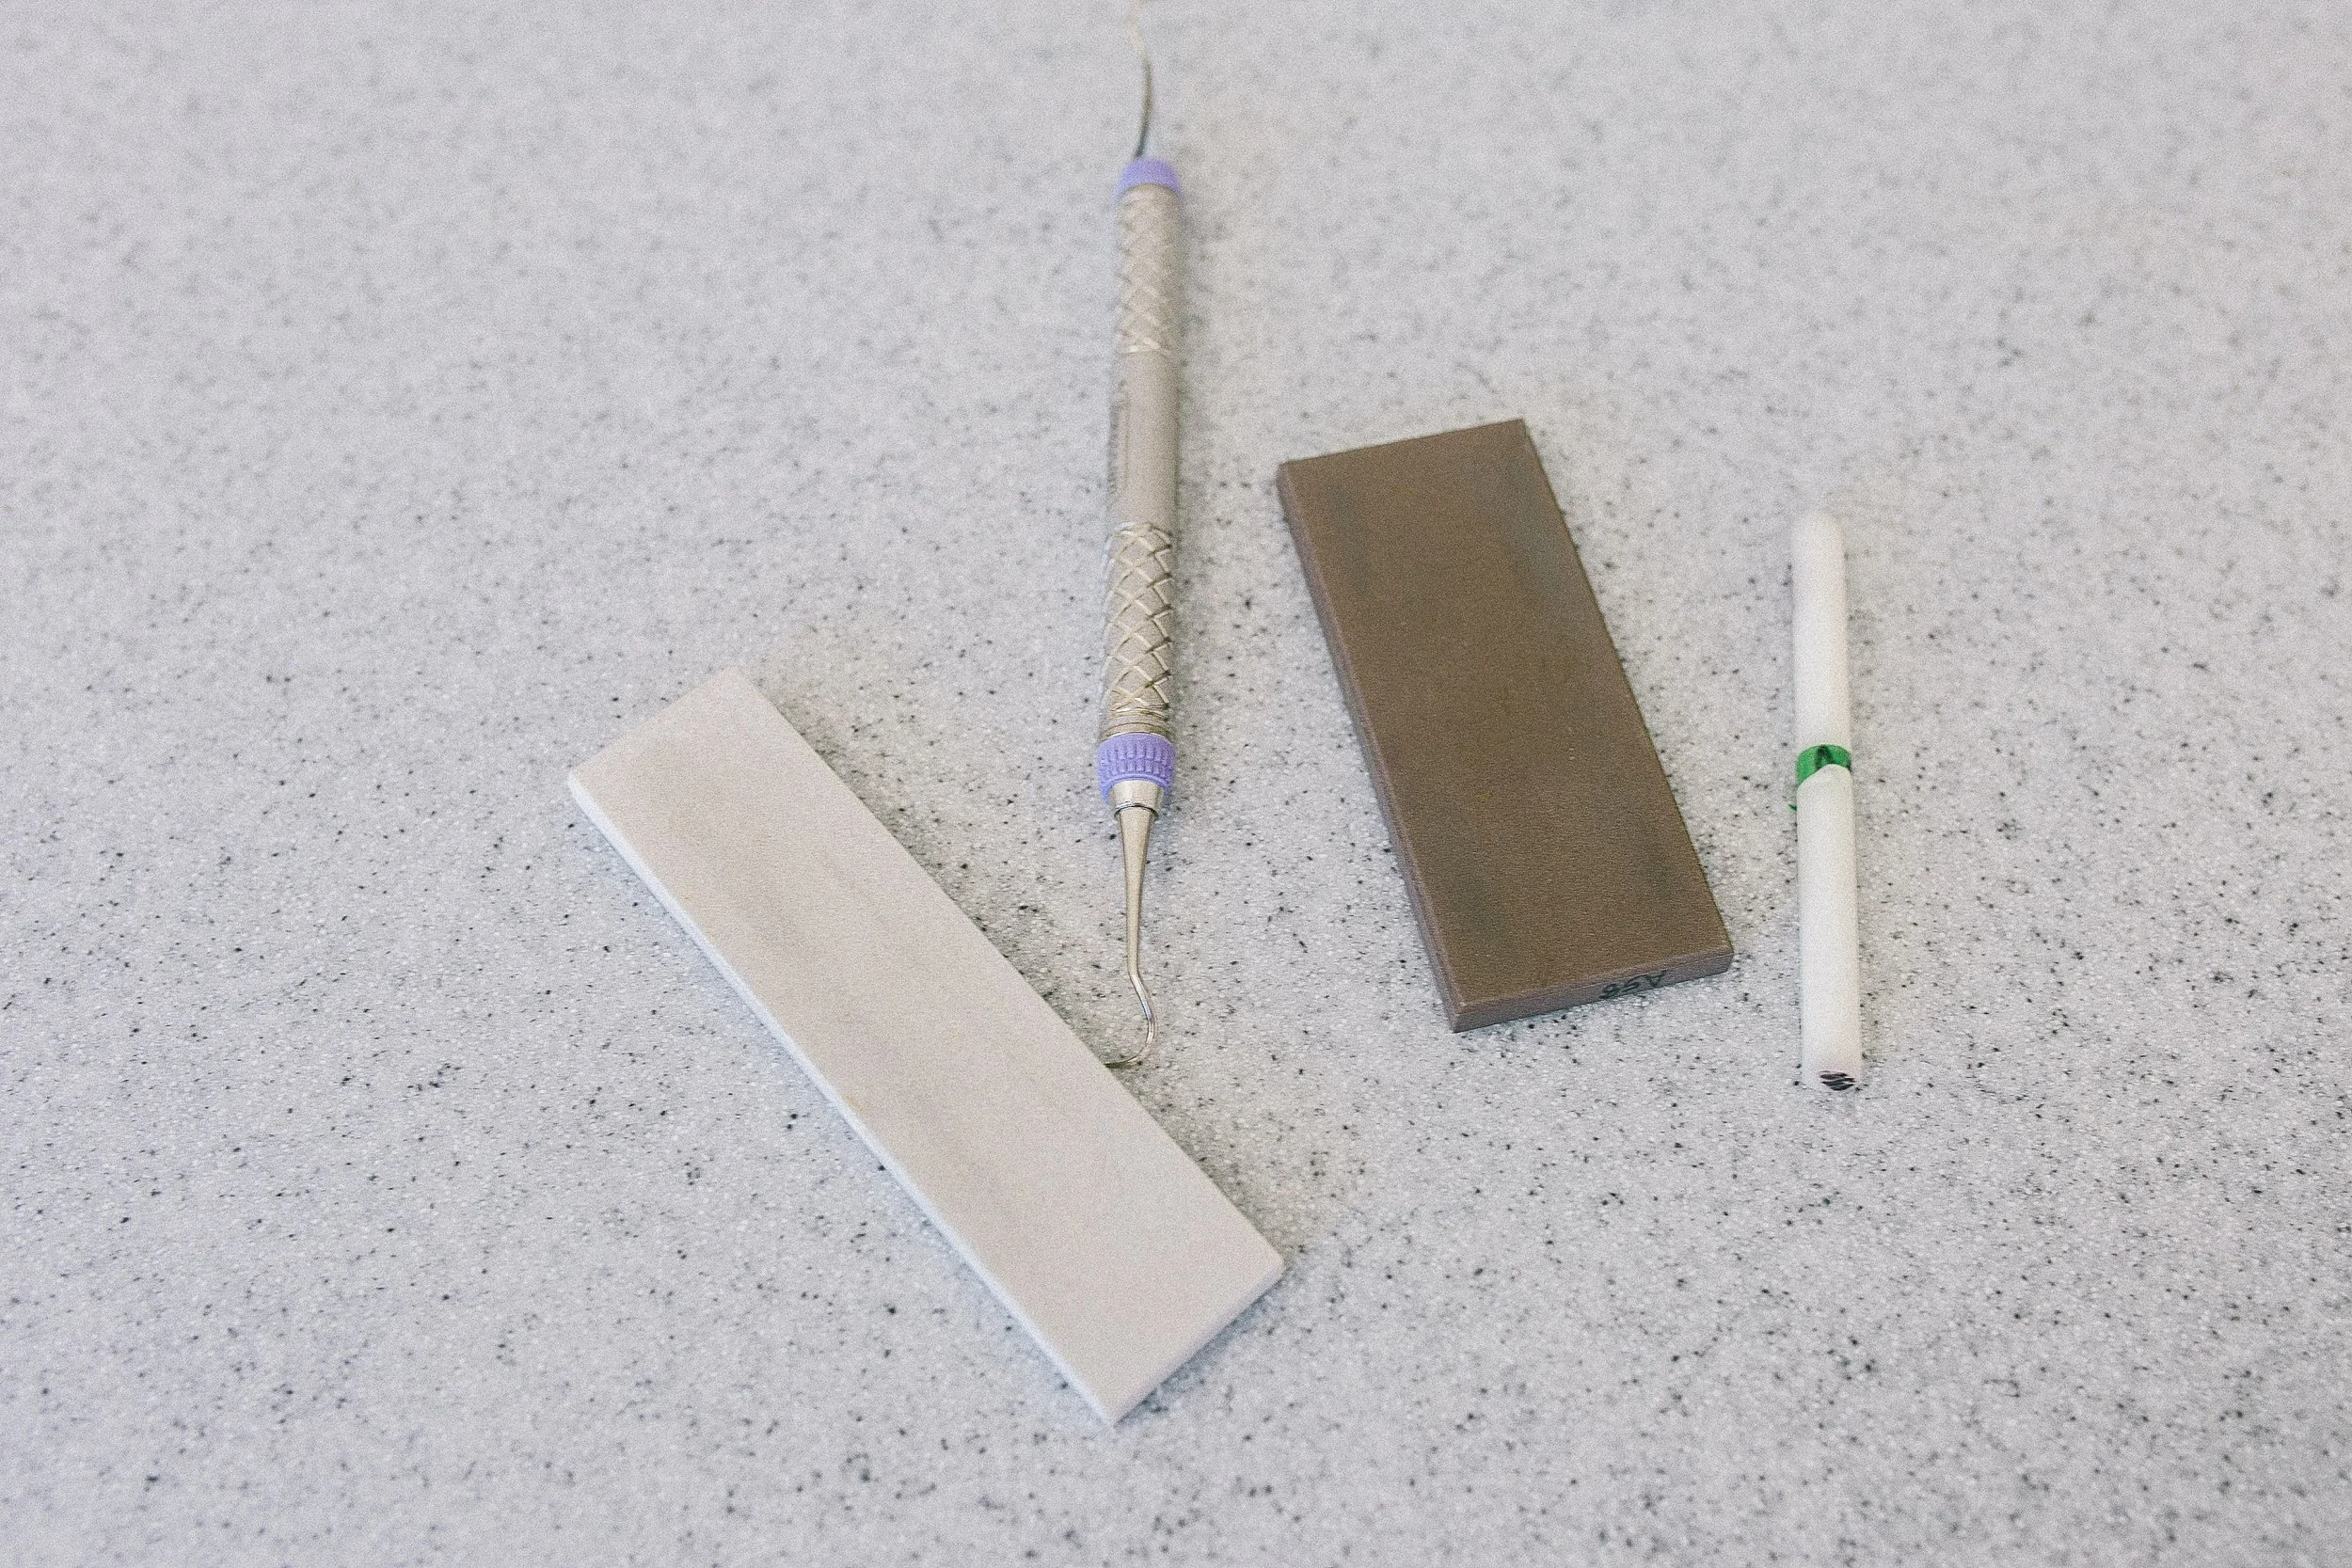
Shank Design
One of the most overlooked yet clinically important aspects of instrument selection is shank design. The terminal shank determines access, adaptation, tissue displacement, visibility, and fulcrum stability/ A poorly selected shank design can prevent proper adaptation entirely.
Rigid shanks are ideal for tenacious calculus because they transmit greater pressure without bending. Flexible shanks, while gentler, may be more appropriate for light deposit removal and fine root debridement.Selecting the incorrect rigidity may lead to clinician fatigue or ineffective calculus removal.
Dental hygiene instrumentation is both a science and an art. Every curve, angulation, blade shape, and handle design exists for a reason. By deepening our understanding of instrument anatomy and engineering, we improve our ability to provide precise, comfortable, and effective patient care.
Instrument mastery is not about owning more instruments. It is about understanding how design influences adaptation, access, ergonomics, and clinical outcomes.
The better we understand our instruments, the better we can serve our patients—and protect our own longevity in the profession.
Case Study with Interdental Brushes from Curaprox
You know those patients that stick out in your mind? Ones that you either connect with or their case is something new? I recently had a patient like this in my practice. He was in his 20s, and had no medical history of to not- no medications or allergies or systemic diseases. However, he had a busy career, was working long hours, and did have a harder time keeping up with his oral home care. With that, when he came into my dental chair, he did have generalized interprox biofilm, inflammation, and we did see some slight crestal bone loss on the radiographs. Since he was young and healthy (recently went to his medical doctor for a full check up and blood panel), we needed to address the biofilm removal at home. Something that he could apply into his busy day, is easy to use, and also actually worked.
Enter into the chat- Interdental brushes like Curaprox Interdental Brushes.
With some motivational interviewing and coaching in the chair, we decided to try out an interdental brush instead of traditional floss or waterfloss to help with biofilm management. It felt easier to manage for him and something he could do on the go or while he was traveling. After custom sizing different areas of the mouth and creating a mouth map for this patient, we were able to practice a bit in the chair. He left with his map, sample, and was feeling good, in my opinion, about trying something new to help his overall health.
Fast forward to a few months later. Since he was having inflammation issues interproximally, he came back for his maintenance appointment in 3 months. And honestly, it was so great to see him and hear of his progress. Was his progress a complete 180 degree change to what his previous habits were? No. But, that’s normal. The one thing he was able to do and feel confident about was incorporating interdental brushes a few times a week to help with biofilm removal. He felt that using a brush was much easier than traditional floss and honestly something he could do on the go with his busy schedule. We did see some improvement in the gingival inflammation, and reset goals to increase his biofilm removal to a few more days a week.
This little win was big for both him and for me as a clinician. We were able to meet the patient where he was, give supportive tools that actually worked for his schedule.
To learn more about this patient and see his case study, check out this video below:
To learn more about the Curaprox Chairside kit, check out the Curaprox website, plus these other videos we made:
Different Curaprox Charside Kits: https://youtu.be/Bqsj9JivMxk
Using the Measuring Probe: https://youtu.be/IxZJdb7k6Os
A huge thank you to Curden for supporting our education goals at Hygiene Edge! This is a sponsored post.
Curaprox Chairside Kits
Did you know there are 3 Curaprox Interdental Brush Chairside kits you can use and utilize to help support your patients health goals? With these kits, you’ll be able to have a custom sized interdental brush for each area of your patient’s mouth, which is huge for proper biofilm removal and healing with our patients. We know as clinicians, each patient that comes into our operatory is a completely different human with different needs, experiences, and levels of health. Why are we treating interproximally cleaning like it’s a one size fits all method? Utilizing these different sized brushes and the different chairside kits can be a big support to our patients.
The kits are:
1. CPS Prime Chairside Box
This is their tight-space / primary prevention system.
Uses the very fine “prime” interdental brushes
Ideal for patients with small embrasures or where floss may not be sufficient.
2. CPS Perio Chairside Box
Meant for “secondary prevention”: larger or open interdental spaces, periodontal patients, around crowns, bridges, etc.
Perfect for patients in maintenance, perio-recall, or who have lost tissue / wide embrasures.
3. CPS Soft-Implant Chairside Box
Designed for “large spaces after periodontal treatment and for implants.”
Includes soft implant-specific brushes that have long, fine, rounded filaments to be gentle around implant sites.
With these tools, we can give customized care to our patients who are by no needs all exactly the same.
To learn more about these brushes and how to order for yourself, check out the Curden website at WEBSITE.
5 Things I’ve Learned from Starting a Small Business
Starting a small business is equal parts exhilarating and humbling. When I launched, I thought I understood hard work. I’ve been a dental hygienist for years. I’ve built rapport with patients, mastered instrumentation, spoken on stages, and balanced packed schedules.
But entrepreneurship? It stretches you in different ways than clinical practice.
Here are five things I’ve learned from starting and growing a few small businesses.
1. Clarity Is More Important Than Confidence
In the beginning, I thought I needed more confidence. What I actually needed was clarity.
Who am I serving? What problem am I solving? Why does this matter?
When I became crystal clear that Hygiene Edge exists to elevate dental hygienists through education, empowerment, and practical skill-building and Acuti Sharpening is supporting dental teams, decisions became easier. Content became more focused. Opportunities became more aligned.
Confidence follows clarity. Not the other way around.
2. You Can’t Do Everything Alone (Even If You Can)
Dental hygienists are independent by nature. We manage our own patients. We solve problems in real time. We handle patient care start to finish. But business requires collaboration.
Graphic design, contracts, taxes, tech systems, brand partnerships, scheduling. Trying to do it all slows growth and drains energy. Learning to delegate (even in small ways) creates momentum. This is one I’m still struggling with daily.
Having a community looking out for you and supporting can be so important as well. We have a monthly Mastermind (that’s free to attend!) that supports entrepreneurs with a dental background. Sign up today to attend, and tell your business friends.
3. Your Reputation Is Your Currency
In dentistry, trust matters. In business, it matters even more. Showing up prepared. Delivering what you promise. Answering emails. Following through. Being transparent about mistakes. Respecting partnerships.
In a niche like dental hygiene, people talk and share what’s working and what isn’t. Things won’t always go to plan, partnerships won’t work out, and that’s ok!
4. Growth Requires Discomfort
The first time I wrote and published a vulnerable article, raised prices, pitched to brands, said no to something, I felt very uncomfortable. But every level of growth required stretching past what felt safe. If you’re waiting to feel completely ready before launching, speaking, creating, or expanding, you’ll wait forever. Growth lives just outside your comfort zone.
5. Impact Matters More Than Income (But Income Matters Too)
Revenue matters. Systems matter. Profit margins matter. You can’t run a business on passion alone. But the moments that stay with me aren’t numbers on a spreadsheet.
They’re the messages from hygienists who say:
“I feel more confident.”
“I used that technique today.”
“You inspired me to step into leadership.”
Impact fuels sustainability. Income allows expansion. Both are key but impact is the heartbeat.
Starting a small business has made me a better educator, a better leader, and honestly a better hygienist. It’s sharpened my communication, strengthened my resilience, clarified my mission and helped with the burn out of clinical dental hygiene.
If you’re a dental hygienist thinking about launching something (a course, a mobile practice, a sharpening service, a blog, a nonprofit) here’s your sign:
You don’t need to have it all figured out. You just need to start. And be willing to learn along the way.
Why I Attend My Local Dental Hygiene Association Day at the Capitol to Advocate for Dental Hygiene
Every year, dental hygienists from across my state gather at our Utah Dental Hygienists’ Association Day at the Capitol. Not for a comfort zone, not for a photo op, and not for a chance to skip work, but because our profession and our patients are counting on us.
This past legislative session in Arizona, lawmakers passed Senate Bill 1124, creating a new category called Oral Preventive Assistants (OPAs). This role that allows dental assistants to perform supragingival scaling and polishing after about 120 hours of training and under strict supervision.
Meanwhile, dental hygienists complete nearly 3,000 hours of accredited education, learning not only how to remove biofilm safely, but how to assess periodontal health, educate patients, manage complex cases, and connect oral health with total health.
This isn’t happening just in Arizona. Other states have been introducing it throughout the year, especially since the American Dental Association has stronger supported this model. It’s definitely been brought up here in Utah, and I have no doubt that it will be tried to push though.
For me, attending Dental Hygiene Day at the Capitol is essentail. Here’s why:
1. Our Education and Expertise Must Be Valued
Dental hygiene isn’t just about scaling teeth. It’s about comprehensive preventive care rooted in scientific education and clinical judgment. When proposals allow less-trained individuals to perform procedures traditionally provided by hygienists, it inadvertently diminishes the value of our specialized training. Patients deserve providers educated to the highest standards.
2. Patient Safety
Professional associations like the American Dental Hygienists’ Association (ADHA) weighed in strongly against an amendment to another bill (AZ Senate Bill 1037) that would have eliminated CODA educational standards for OPAs. We advocate not just for our profession but for the oral health and safety of every patient who we come in contact with.
3. Advocacy is Hard, But Has Impact
When hygienists show up in person, by phone, or through email, legislators take notice. They see that this is not just an abstract profession, but a healthcare discipline with a voice. Sometimes our advocacy shapes legislation; other times, it stops proposals that would weaken standards or compromise care.
4. Our Voice Matters
One voice can start a conversation. Hundreds of voices can shape state policy. Whether we’re discussing scope of practice, supervision rules, reimbursement models, or workforce issues, legislators need to hear directly from hygienists because we bring expertise they don’t have.
5. Connecting with Others Beats Burnout
The Capitol isn’t just about politics. It’s about community. When we stand together we build momentum to strengthen our profession, our services, and our patients’ access to care.
How To Get Involved:
Advocacy doesn’t have to be intimidating! Here’s how to start:
Find out when your dental hygiene association’s advocacy day is scheduled. Most states hold these events each legislative session.
Register and show up. Even one visit to your legislator’s office makes a difference.
Share your story. Legislators remember personal experiences far more than talking points.
Stay informed. Follow updates from your local and national dental hygiene associations. They track bills that matter to us.
Invite a colleague. Advocacy gets stronger when we lift each other up.
If we want expanded scope, fair compensation, recognition as healthcare providers, and safe, high-quality care for patients, we must step into the legislative process. Being a dental hygienist means being a caregiver, educator, and sometimes, an advocate. Showing up at the Capitol is an investment in our profession’s future.
So mark your calendar, clear your schedule, and plan to attend the next lobby day in your area. Your voice matters and our profession needs it now more than ever.
Celebrating & Educating During National Children’s Dental Health Month
We all know that February is National Children’s Dental Health Month (NCDHM), and for dental professionals, it can be one of the most fun and educatioal times of the year. It’s a perfect opportunity to turn routine appointments into memorable learning moments and to empower kids (and their caregivers) with habits that can last a lifetime.
Whether you work chairside, in education, public health, or content creation, here are some easy and engaging ways to celebrate and educate during NCDHM.
1. Make Preventive Education Kid-Friendly (and Bite-Sized)
Children learn best when information is simple, visual, and interactive.
Ideas to try:
Use tell-show-do with oversized toothbrushes or models
Teach brushing with a 2-minute song or timer
Let kids practice brushing on a stuffed animal or tooth model
Use fun comparisons like “sugar bugs” or “tooth superheroes”
Small moments of education during an appointment can leave a big impression.
2. Involve Parents & Caregivers
NCDHM is also a chance to educate adults who influence daily habits.
Share age-appropriate brushing and flossing guidelines
Talk about diet, snacking frequency, and hidden sugars
Discuss fluoride, sealants, and early orthodontic evaluations
Provide take-home tip sheets or QR codes to trusted resources
When caregivers feel confident, kids are more likely to succeed.
3. Bring the Celebration Into the Office
You don’t need a huge budget to make February feel special.
Easy in-office ideas:
Sticker charts or small prizes for good brushing habits
Coloring pages or activity sheets in the waiting room
Dress-up days with fun scrubs or themed décor
4. Take Education Beyond the Dental Chair
NCDHM is the perfect excuse to connect with your community.
Ways to get involved:
Visit local schools, preschools, or daycare centers. Have you seen RDHs dress up as the tooth fairy and visit classrooms? So cute.
Partner with libraries or community centers for story time + dental tips
Volunteer at health fairs or pediatric events
Collaborate with school nurses or educators
Even a short presentation can spark curiosity and confidence in young patients.
5. Use Social Media to Reach Kids and Parents
If you’re already on social media, February is prime time for dental education content. You could make these for your dental offices pages, or your own personal accounts to keep spreading the word.
Content ideas:
Quick brushing or flossing demos
Myth-busting posts for parents
Reels showing kid-friendly appointments
Fun facts about baby teeth
Educational content doesn’t have to be complicated—it just has to be relatable.
6. Focus on Prevention, Not Fear
NCDHM is about building lifelong habits, not scaring kids about cavities. Letting parents know this is so important.
Keep messaging:
Positive and encouraging
Age-appropriate
Focused on what kids can do to keep their smiles healthy
The goal is confidence, not compliance.
Every interaction you have with a child helps shape how they view dentistry for years to come. National Children’s Dental Health Month is a reminder of the powerful role dental professionals play in prevention, education, and advocacy.
How to Talk to Patients about Interdental Brushes by Curaprox
Remember a few years ago when this news article/segment came out? I feel like whenever anything dental comes on the news or goes virtual, the next few months include so many questions from my patients about it. This news piece was no different. I would have a patient pretty much every hour ask if it was true and if they should follow that advice. Or, someone would come in and be very excited to call us out in dentistry “Hey- what you’ve been saying is totally not true” was a line I heard more than once.
After a few days, it definitely got tiring. However, looking back, it was actually nice to bring up the conversation of flossing and if it is actually working for many of my patient population. And the answer was really no. If they cannot do the proper technique, then really is flossing doing much for them? If they have larger embrasure spaces and they’re using a very very fine floss, is using that material actually removing much biofilm? Probably not. So luckily, we were able to turn those conversations into great home care recommendations that were actually tailored to them, like using an interdental brush from Curaprox.
When it comes to introducing interproximal brushes, when is a great time to talk about it? If patients aren’t bringing up flossing, when can we introduce it in their hygiene visit?
Start talking about it from the start. See a larger space while taking radiographs? You could mention it right then and ask if that area traps bacteria or food.
During periodontal assessments, like probing. If they have areas that are bleeding more than others, let them know and ask a follow up question on what they do for home care in that specific area.
When going to get the dentist for the exam. While the patient is waiting for the dental exam, have the patient try out and practice their custom fit Curapraox interdental brush.
To learn more and see the Curaprox IDB System in action and how you can work it into your dental hygiene day, watch this video:
Have you been talking about interproximal brushes, especially ones custom tailored to your patients?
To learn more about Curaprox and to bring it to your office, make sure you visit WEBSITE.
January, But Make It Better for RDHs
Ahhh, January. The month that feels like it’s 74 days long. The holidays are over, the scrubs are tighter than they were in December, patients are coming in hot with “I’ll floss more this year,” and the sun sets before you even leave the op. If you’re a dental hygienist, January can feel like a collective meh.
But here’s the thing: January doesn’t have to be something we just survive. With a few mindset shifts and small habits, it can actually be a reset month that works for you. I know I am working toward making this month better.
Let’s talk about some realistic, positive, and fun ways to get through January without burning out.
1. Lower the Bar (Yes, Really)
January is not the month for perfection. It’s the month for gentle re-entry.
You do not need to:
Reinvent yourself
Say yes to everything
Fix every patient’s periodontal status in one visit
Instead, aim for progress over pressure. Maybe your goal is simply to drink more water at work, stretch between patients, or leave on time once a week. Those wins count.
2. Romanticize the Little Things at Work
Your job already has built-in wins, we just forget to notice them.
Try this:
Light a candle after work and reflect on one patient you helped that day
Switch up your playlist or podcast for commutes
Treat yourself to a “January treat” that’s just for workdays
When the days feel repetitive, small joys matter. Hygienists give so much of themselves clinically. Finding moments that refill your cup is not selfish, it’s necessary.
3. Set a “Hygiene-Only” Goal (Not a Life Goal)
Instead of huge New Year’s resolutions, try one profession-specific goal for January.
Examples:
Learn one new instrumentation tip
Get more confident explaining perio to patients
Watch one CE video you actually enjoy
This is where resources like Hygiene Edge come in. Bite-sized education, practical tips, and reminders that you’re not alone in this profession. Growth doesn’t have to be overwhelming to be meaningful.
4. Laugh With Your Coworkers
January patients are… special.
Missed flossing. Post-holiday sensitivity or broken teeth. “I didn’t have time to brush before my appointment.”
Lean into your team.
Share the funny moments
Vent safely
Laugh when you can
Connection at work is one of the biggest protectors against burnout. Sometimes the most therapeutic thing you can do is laugh about it with someone who gets it.
5. Remember: You Are More Than Production
January often comes with slow schedules, cancellations, or pressure to “make up” numbers. Let me remind you of something important:
Your value is not tied to production.
Your worth is not measured in units.
You are an educator. A healthcare provider. A professional who impacts people daily, even on the quiet days. January is a great time to reconnect with your why, not just your schedule.
6. Plan One Thing to Look Forward To
January feels endless when there’s nothing on the calendar.
Plan something:
A weekend getaway
A CE course or conference- RDH Under One Roof or Chicago Midwinter maybe?
A personal day
A goal you’re excited about in your career
Even having one thing to look forward to can completely change how the month feels.
7. Give Yourself Credit
If no one’s told you lately: Being a dental hygienist is hard. Physically. Mentally. Emotionally.
So if you’re showing up, caring for patients, learning, growing, and doing your best, even when it’s cold, dark, and January-ish, you deserve credit.
January isn’t about being “on.” It’s about easing in, reconnecting with your purpose, and setting the tone for the year ahead.
At Hygiene Edge, we believe education should feel supportive, practical, and empowering, especially during months like this. You’re doing better than you think, and you don’t have to do this alone.
Here’s to getting through January with a little more grace, a little more laughter, and a lot less pressure.
You’ve got this.
xoxo Melia Lewis, MEd, RDH
Podcast Chats
October was the month of podcasts, chatting all things dental hygiene and teeth, and connecting with some amaazing dental professionals through this different medium that I don’t usually do. But, it was such a blast! And definitely has me thinking- should I start my own podcast? Do you listen to podcasts still?
Here are some of the podcasts I’ve been on recently. Take a listen!
Straight up with Steph- Part 1- How to Survive Dental Hygiene School.
Straight up with Steph- Part 2- Thriving in your First Years of Dental Hygiene
The Dental Hand Off- Talking all about Burn Out
Thank you to these amazing shows for highlighting dental hygienists, Hygiene Edge, and looking to the future of dental hygiene.
Introducing the Kilgore 700HPRO Typodont

Can you remember back to your dental hygiene school days and practicing a model or typodont? I definitely remember having a wall of typodonts hanging on a wall, and before clinic during my first semester, we would all run in and grab them off the wall. After a few times, we all learned which ones were the best, which ones were the worst, and definitely would rush in to find the best one to have the most effective clinic experience.
Now, that was 16 years ago at his point. So much of dentistry has changed in those 16 years since and the typodonts we use in dental and dental hygiene school are no exception. This year, Kilgore launched the 700HRPO typodont which has been so great to practice, learn and film on.
What makes this typodont different?
With realistic tooth anatomy and bone levels, you can both learn and practice scaling and probing on one model.
With the 2 in 1 of both scaling and probing/exploring on one typodont, you’ll have more of a “real life” experience before heading to practice skills on a human.
With the combo, you’ll save time without having to switch rooms or clinicians between different models.
Along with the anatomy of the teeth, these teeth are perfect to practice sealants on.
The gingiva is the most realistic we have used. Not too soft, not too tough so you can definitely adapt easier than some other typodonts.
It’s definitely interesting to reflect on the innovation of dental typodonts and models and how both small and large improvements with models can improve the learning process, and in turn support better clinicians.
To learn more about the Kilgore 700HPRO, check out our latest video showing how it works, and how it stands out compared to other dental models.